Option 1: Via Bluetooth
对于PiAware 7.0或更高版本以及支持的浏览器,您可以通过蓝牙设置您的PiAware。
支持的浏览器:Google Chrome、Opera、Microsoft Edge、Chrome for Android
抱歉,此浏览器不支持蓝牙配置。这是一个试验性步骤,其所依赖的功能并不是所有浏览器和操作系统都可实现。目前支持的浏览器包括:MacOS上的Google Chrome和Opera(部分MacBooks不支持),Android上的Google Chrome。
通过蓝牙设置
选项2:手动配置
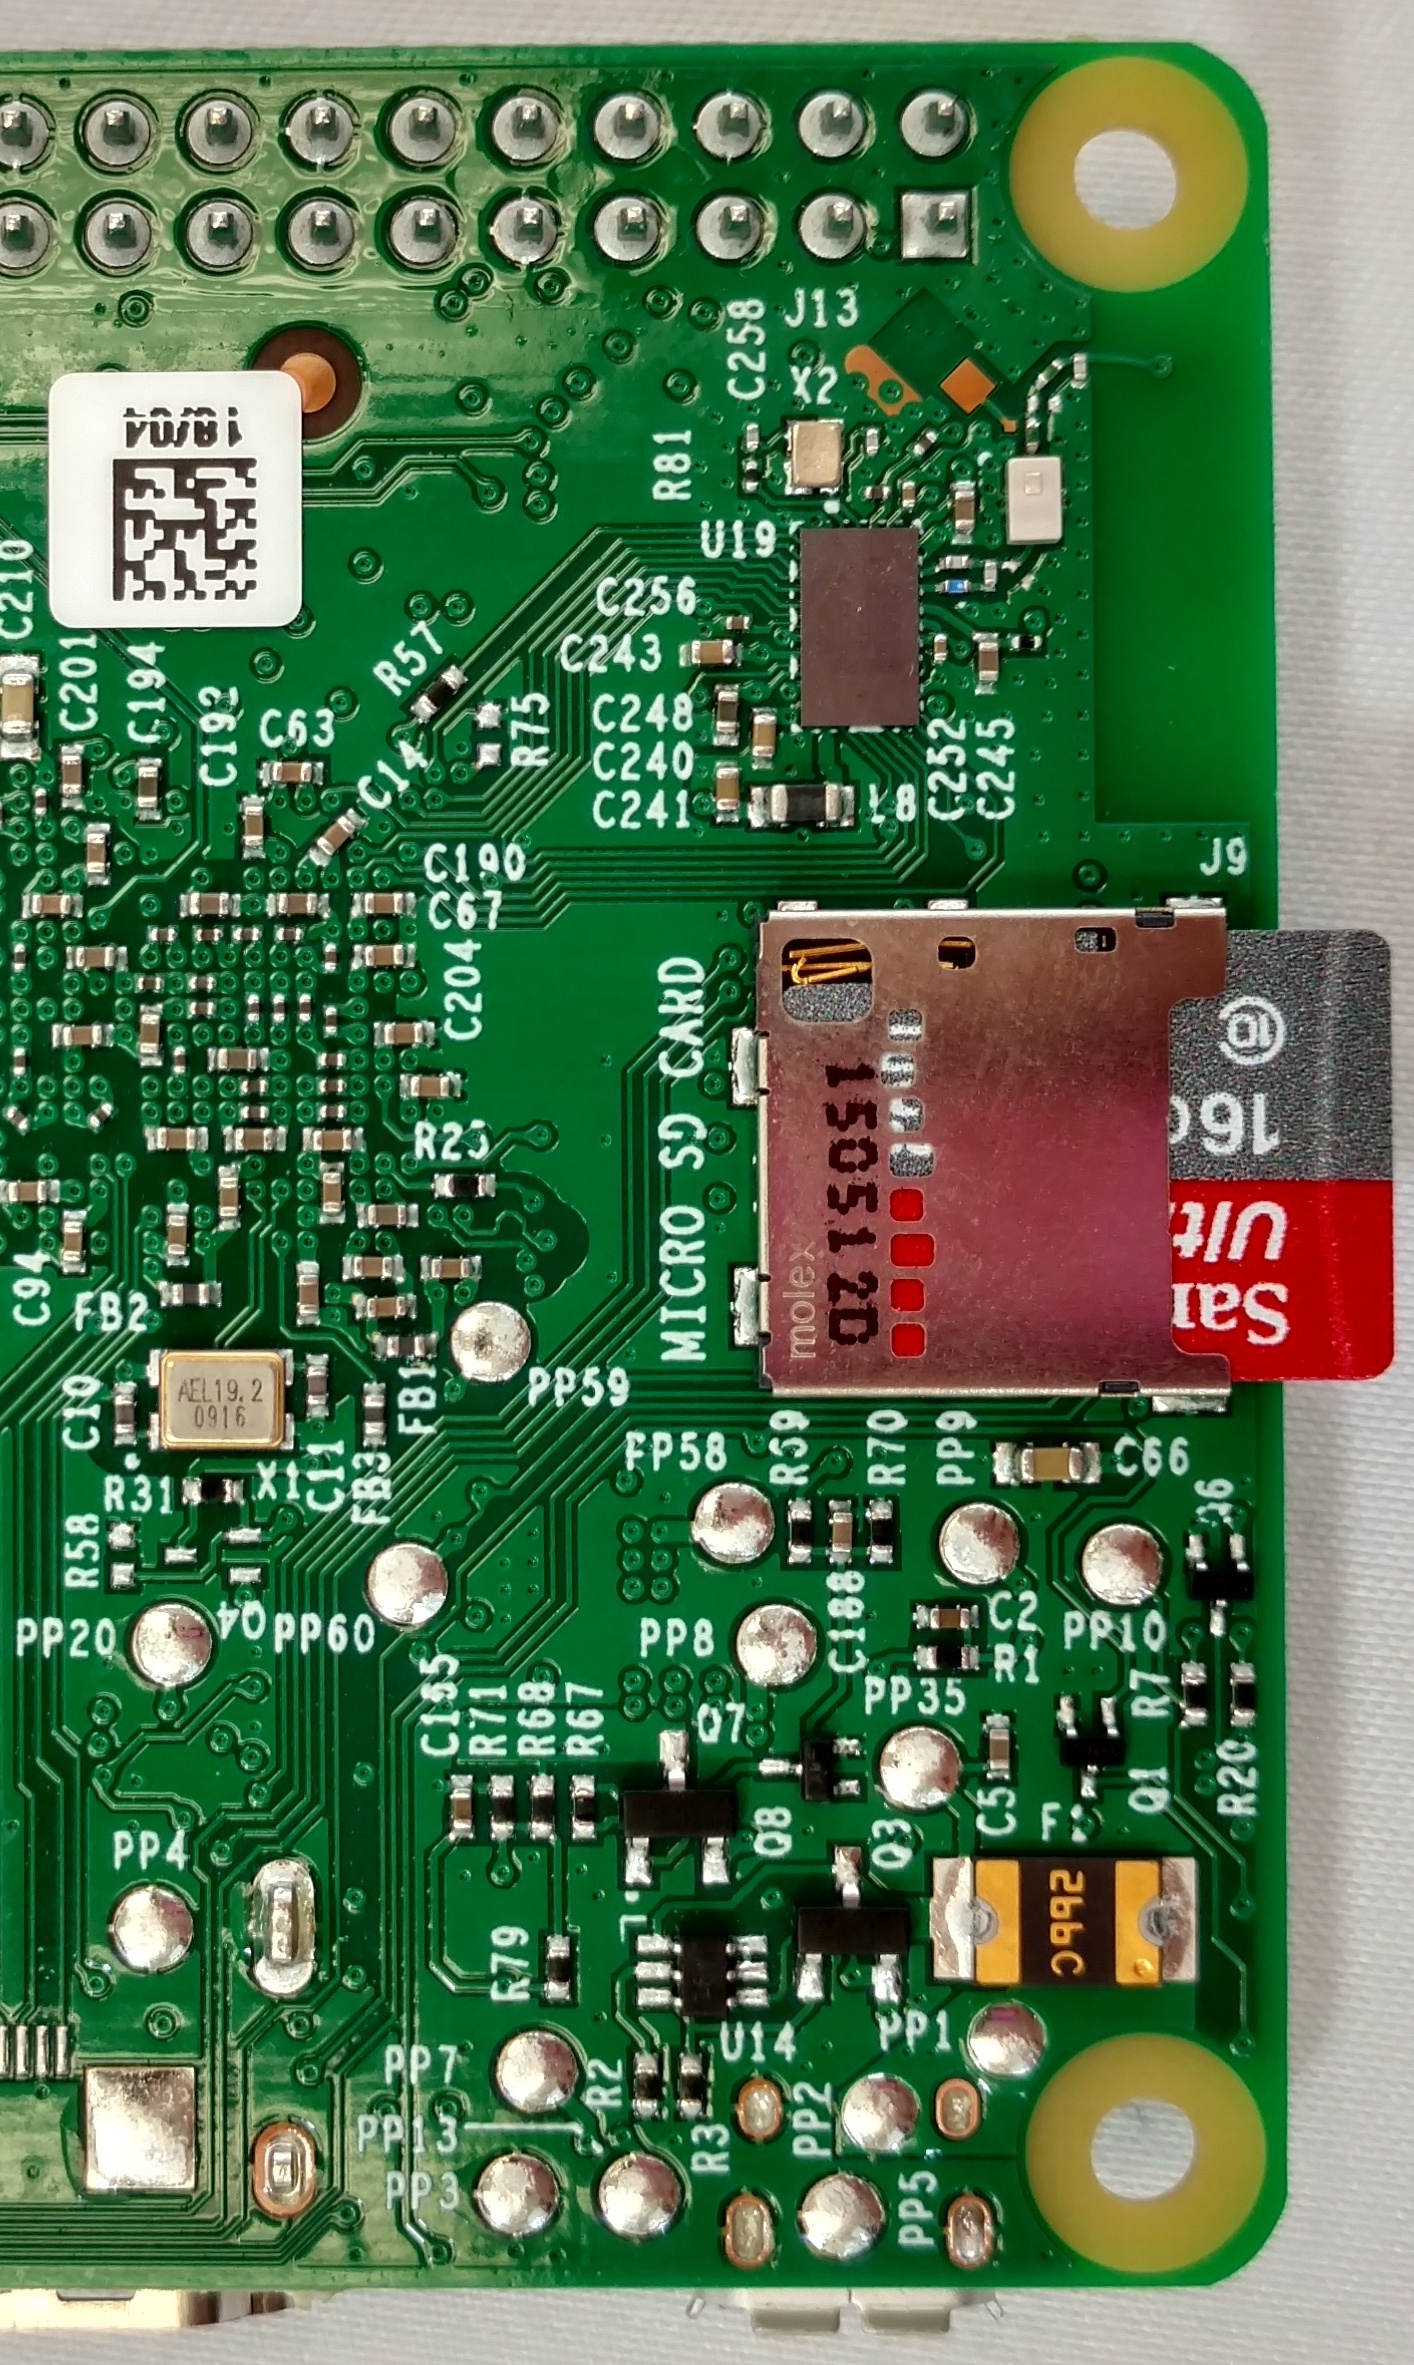
如果要使用板载Wi-Fi或USB适配器连接到互联网,您将需要编辑配置文件。格式化完成以后,Etcher将自动弹出Micro SD卡;取出Micro SD卡或USB适配器,并将其插回计算机以编辑配置文件。
配置文件使用户可以配置和设置以下
- 有线网络
- 无线(WiFi)网络
- PiAware支持未加密的网络或WPA/WPA2加密网络,不支持WEP
- 自动或手动更新*
- 多点定位(MLAT)输出*
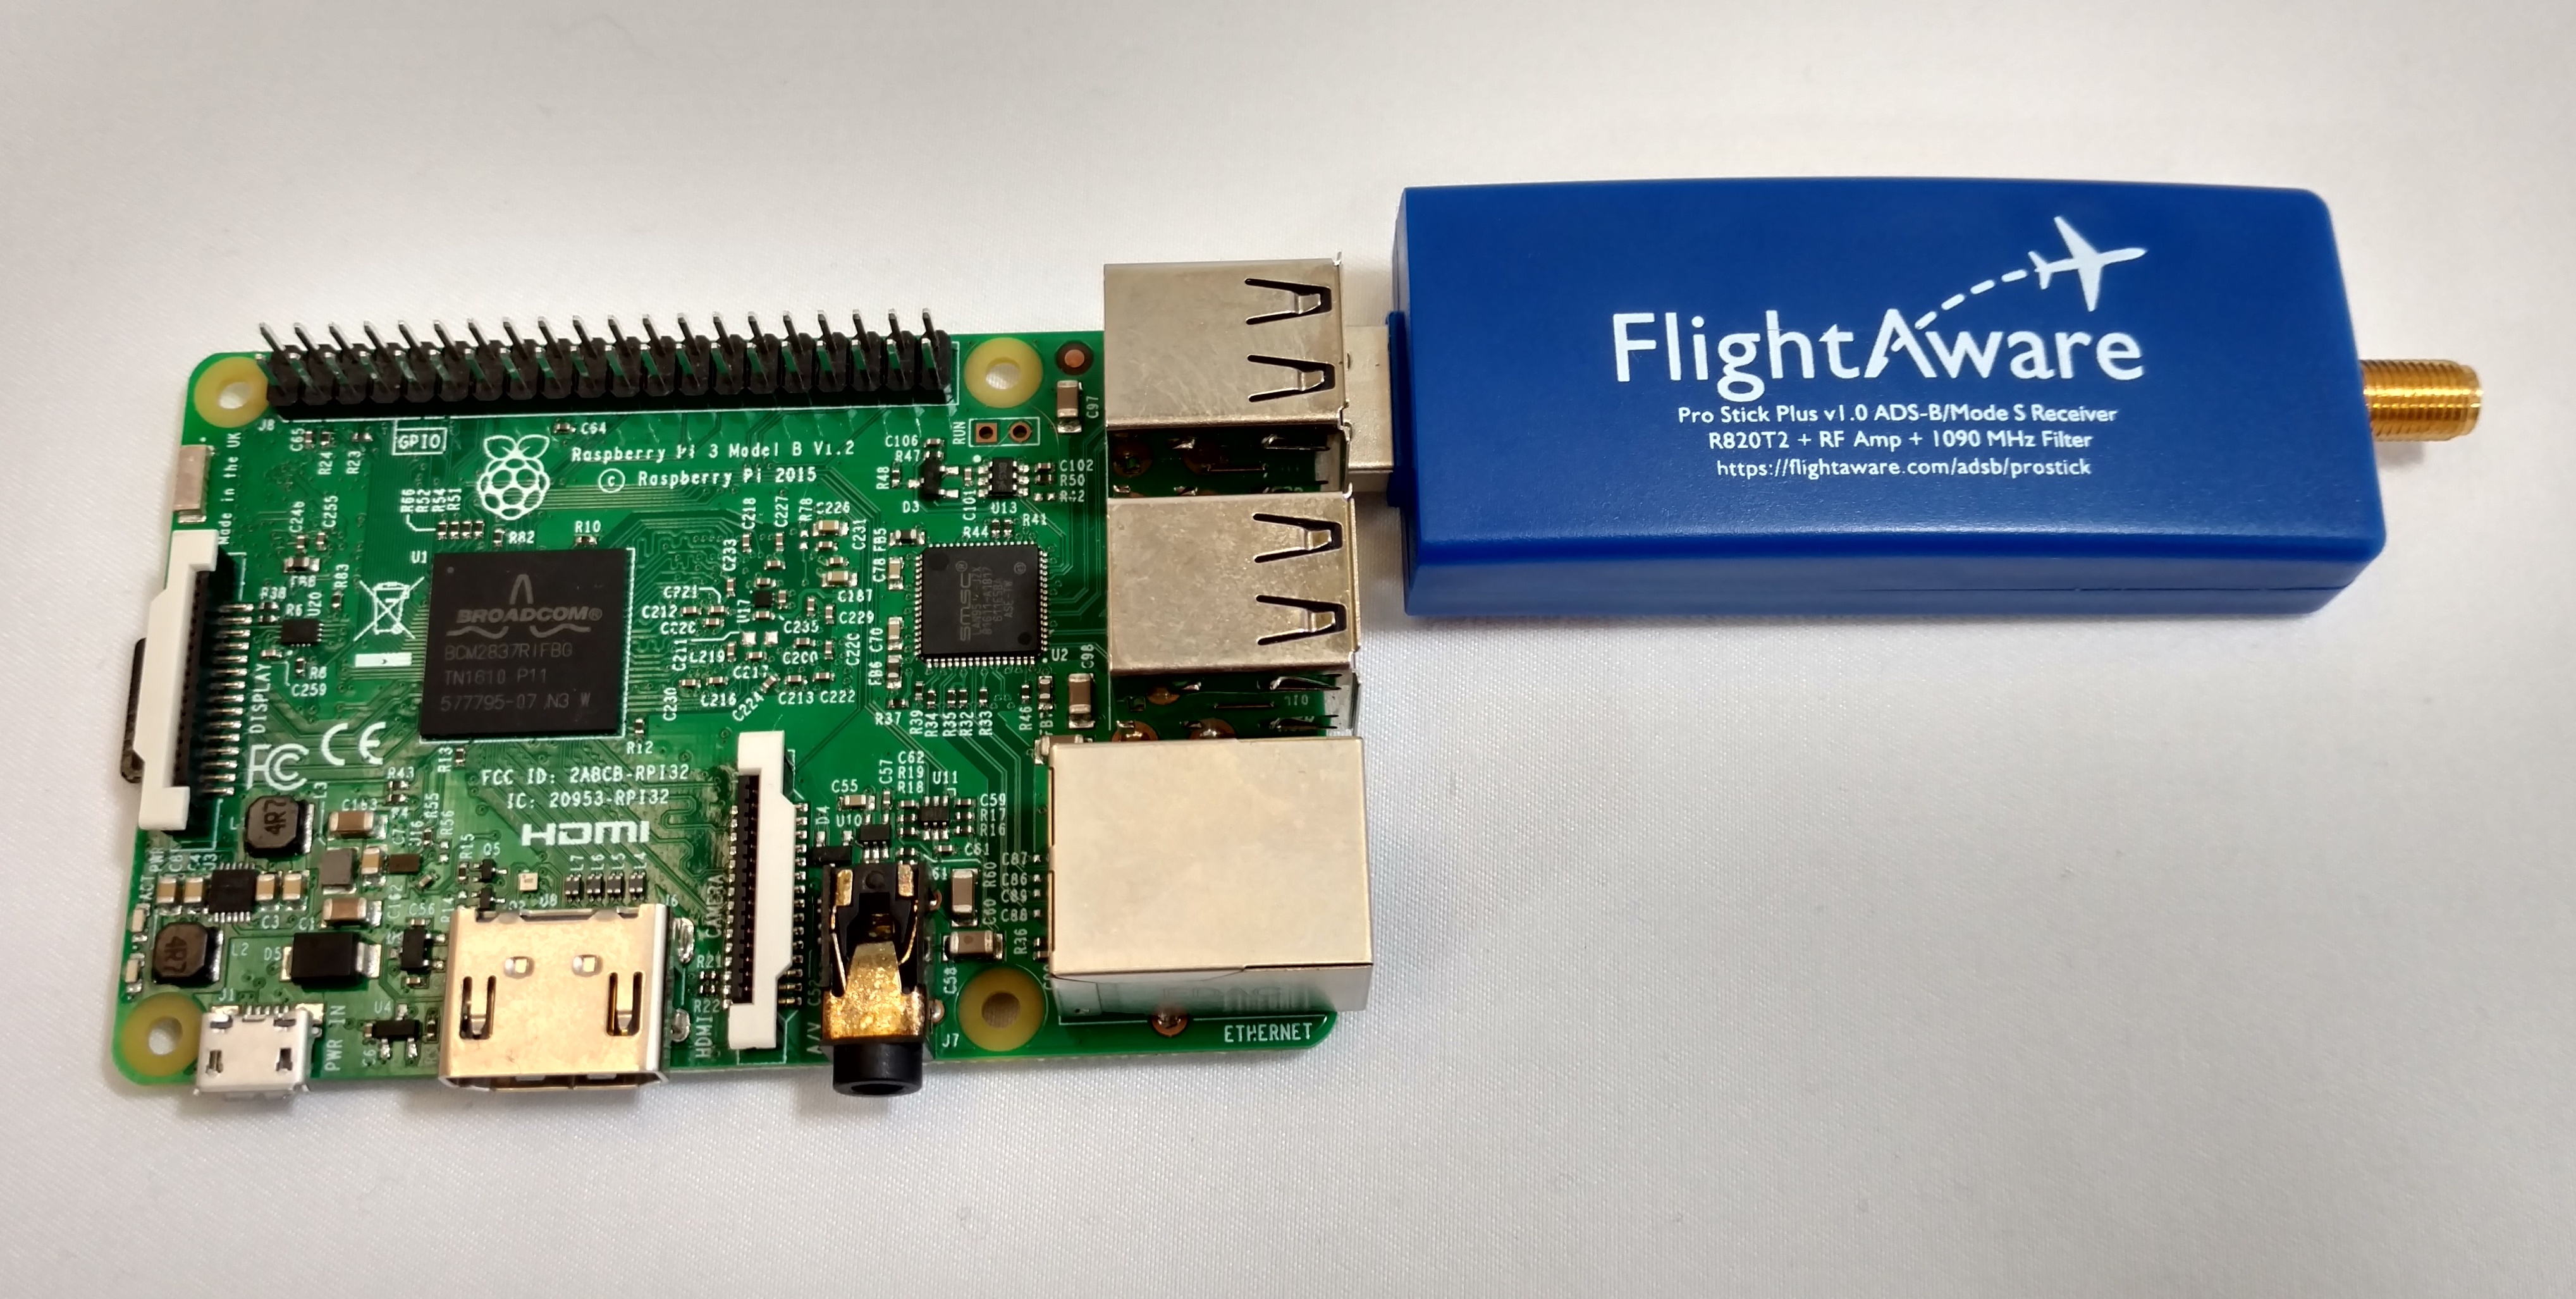
- 接收器类型(RTL-SDR、Beast、Radarcape或其他Mode S/ADS-B源)
- RTL-SDR增益、PPM和设备索引
* 表示可在站点的统计信息页面上进行配置的设置。
有关完整配置选项,请参阅 高级配置
配置文件格式
该配置文件是一个简单的纯文本格式文件。目前已知MAC OS上的TextEdit程序会保存富文本格式和弯引号,因此请确保在程序的首选项中禁用这些选项。
以“#”开头的行为注释行,将被忽略。空行也将忽略。所有其他行表示配置设置。
Windows
- 打开资源管理器程序
- 选择标有piaware的Micro SD卡设备
- 打开piaware-config.txt文件
- 文件将在记事本中打开
Mac OS X
- 打开Finder程序
- 选择标有piaware的Micro SD卡设备
- 打开piaware-config.txt文件
- 文件将在TextEdit中打开
以下是打开的文本文件,启用Wi-Fi的说明以粗体显示。
#
# This file configures the Piaware sdcard image
# configuration. Whenever the system boots, this
# file is read and its contents are used to
# configure the system.
#
# Lines beginning with a '#' are comment lines
# and are ignored. Blank lines are also ignored.
# All other lines specify configuration settings.
#

#
# WIRED NETWORK CONFIGURATION
#
# Should piaware use the wired ethernet port
# for network access?
wired-network yes

# Wired network configuration:
# Most networks will use DHCP
wired-type dhcp

# Alternatively, a static address configuration
# can be provided; set "wired-type" to static to use this.
wired-address 192.168.1.10
wired-netmask 255.255.255.0
wired-broadcast 192.168.1.255
wired-gateway 192.168.1.254
wired-nameservers 8.8.8.8 8.8.4.4

#
# WIRELESS NETWORK CONFIGURATION
#

# Should piaware use a wifi adaptor
# for network access? You will need to attach
# a supported USB wifi adaptor for this to work.

# change this to "yes" to enable wifi
wireless-network yes

# Wifi SSID and password.
# This should be changed to match your wireless
# network SSID and, for networks that require
# a passphrase, the passphrase.
wireless-ssid MyWifiNetwork <-----replace MyWifiNetwork with the name of your WiFi (aka the SSID of your local network)
wireless-password s3cr3t <-----replace s3cr3t with the password to your WiFi

# Wifi network configuration:
# Most networks will use DHCP
wireless-type dhcp

# Alternatively, a static address configuration
# can be provided; set "wireless-type" to static to use this.
wireless-address 192.168.1.10
wireless-netmask 255.255.255.0
wireless-broadcast 192.168.1.255
wireless-gateway 192.168.1.254
wireless-nameservers 8.8.8.8 8.8.4.4
Windows
- 文件完成编辑后,保存并关闭记事本
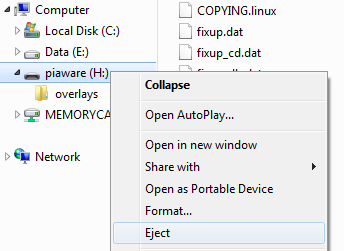
- 在我的电脑或者系统托盘里单击右键并选择弹出,以弹出Micro SD卡。
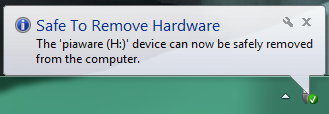
- 此时应该出现一个弹出窗口,提示可以取出SD卡
Mac OS X
- 文件编辑完成后,请保存并关闭TextEdit
- 在Finder里或使用弹出图标弹出Micro SD卡